
Create a Hub
Creating a hub adds a new place for clients to connect.
Use this guide when you need an owned hub. If you only want to explore, start with Public Hubs instead.
Start Here If
Section titled “Start Here If”- you need a workspace-owned destination for clients;
- a public hub does not fit the audience or control you need;
- you have already checked that your plan allows another hub;
- the hub needs a clear skill or runtime choice before clients connect.
At a Glance
Section titled “At a Glance”| Choice | Good default |
|---|---|
| Hub visibility | Keep it private unless it should appear in public discovery. |
| Skill set | Use workspace default skills for the first owned hub. |
| Runtime | Leave runtime unchanged unless the hub needs different language, location, or speech behavior. |
| Next item | Create one connection and narrow permissions before adding another hub. |
Before You Create
Section titled “Before You Create”Confirm:
- Billing shows room for another owned hub;
- you know whether the hub should be private or public;
- you know whether it should use the default skills or separate skills;
- you know whether those skills need different runtime settings;
- you have a short name that describes purpose;
- you know whether it needs a custom address.
If you cannot answer one of these yet, pause and open Billing, Skills, or Runtime before creating the hub.
Creation Steps
Section titled “Creation Steps”- Open Hubs. Select Create hub. If the button is locked, open Billing to review your plan.
- Name the hub. Use a readable name.
- Choose public or private. Private keeps it inside the workspace. Public lists it in the shared directory.
- Choose skills. Use workspace default skills for most hubs, or choose separate skills when this hub needs something different.
- Add discovery details. For public hubs, add description, tags, audience, age guidance, and starter prompts.
- Review launch settings. Check active state, public labels, lock state, and final setup.
Choosing Skills and Runtime
Section titled “Choosing Skills and Runtime”Use workspace default skills when this hub should behave like most other hubs in the workspace.
Use separate skills when this hub needs a different skill mix, different runtime config, or a slower update pace.
Runtime config belongs to the skill set. Change runtime when you need different language, location, speech, blocked skills, or advanced defaults.
Public Hub Requirements
Section titled “Public Hub Requirements”Public hubs should have:
- a description;
- at least one tag;
- at least one starter prompt;
- appropriate audience guidance;
- age guidance when needed.
Starter prompts must be plain language and should avoid links, email addresses, or markup.
After Creation
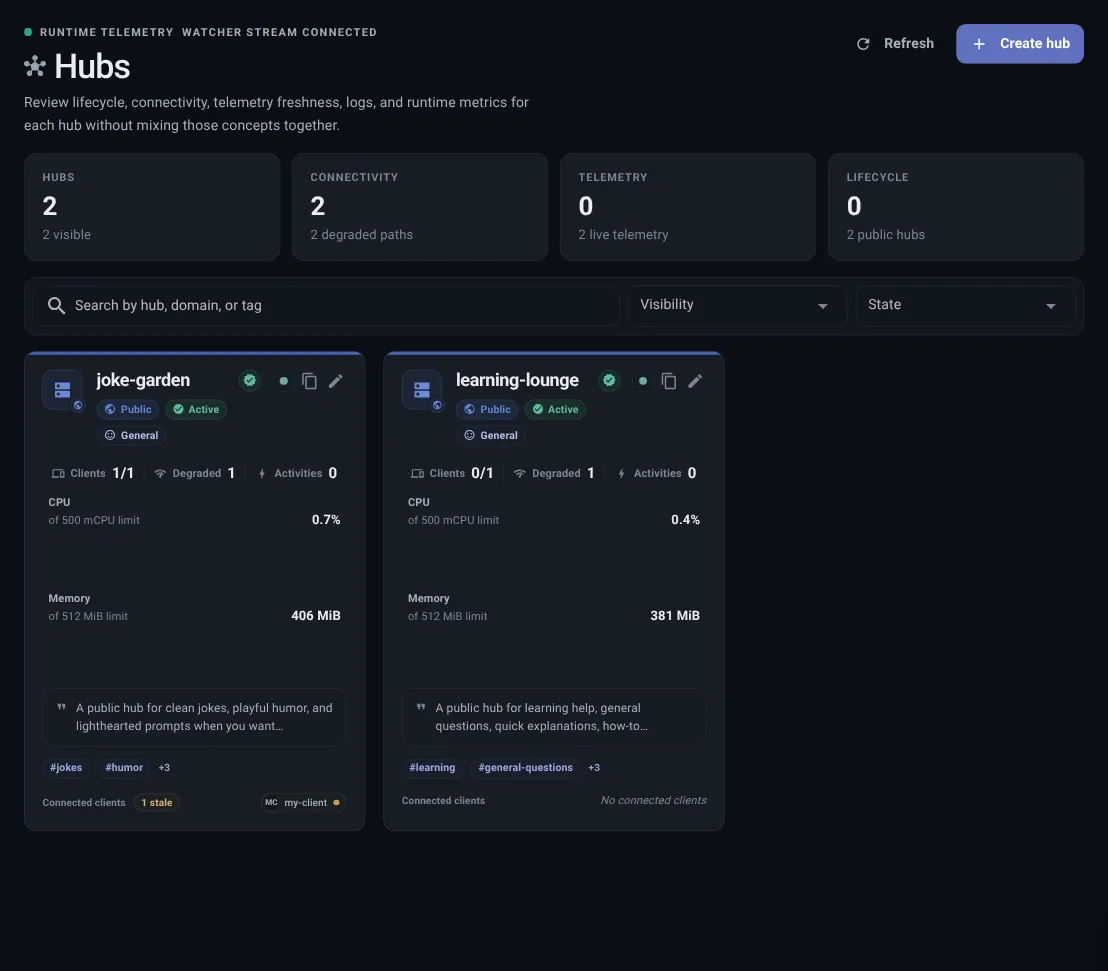
Section titled “After Creation”Open the hub inspector to review:
- hub address;
- public or private setting;
- clients;
- permissions;
- usage details;
- recent status details;
- public discovery details.
Then create a connection for the hub and set permissions.
If the hub uses a separate skill set, review Runtime before changing runtime config.
What to Do Next
Section titled “What to Do Next”After the hub exists, the next useful action is usually not another hub. Create one connection for the hub, set permissions for that client, then confirm Dashboard and Live Map show the relationship clearly.
Hub Creation Is Done When
Section titled “Hub Creation Is Done When”Hub creation is done when:
- the hub exists with the intended public or private setting;
- the skill set choice is correct;
- public details are complete when the hub is public;
- the next client is clear;
- Dashboard shows the expected hub count and no unexpected warning.